Pre-painted walls, pre-scuffed flooring, old cupboards…. Rental apartments can be boring, and definitely a little worn looking. Having lived in three apartments and a dorm room in the last six years, I’m definitely a little tired of not having a space which reflects a little of my own personality.
Putting up pictures and posters is definitely a great way to start shaping your space and giving it some colour and spark, but there are definitely some areas where that artsy poster you picked up at the campus poster sale four years ago just won’t cut it.
Prime example: the fake-wood closet doors that are oh-so-common in many rental spaces.
You know – the dark brown ‘wood’ doors mounted on sliders that cover your entrance closet or hide the laundry in your bedroom. I personally haven’t seen a single apartment that has a paint scheme that actually matches those doors, and they can also really darken a space. Yes, you can un-hinge them and store them somewhere if you have the space, but not a lot of people do. This also leaves your nice hidden storage spaces exposed, showing your messy collection of coats, shoes, and random items to all of your guests.
In my apartment, I have three of these doors in my entrance-way, and it created a rather dark, and less appealing welcome than I wanted in my apartment. Luckily, I found a solution while browsing online that worked for me, both time-wise and budget-wise.
How About Orange has a great tutorial on how to cover your doors using fabric, water, and cornstarch! I read this blog, and got really excited – I also tried a test swatch on my doors to see if it worked, and got even more excited, because it definitely did. Using cornstarch and water, you make a paste that easily adheres fabric to surfaces, and then gets easily dissolved later using warm water for easy removal!
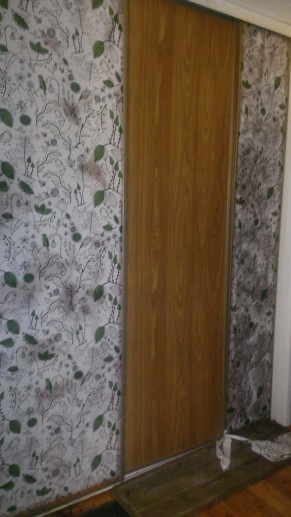
Less than picturesque doors in the process of being covered up! The dark spots are where the cornstarch mix is still wet, and not dried.
Instructions are easy and simple:
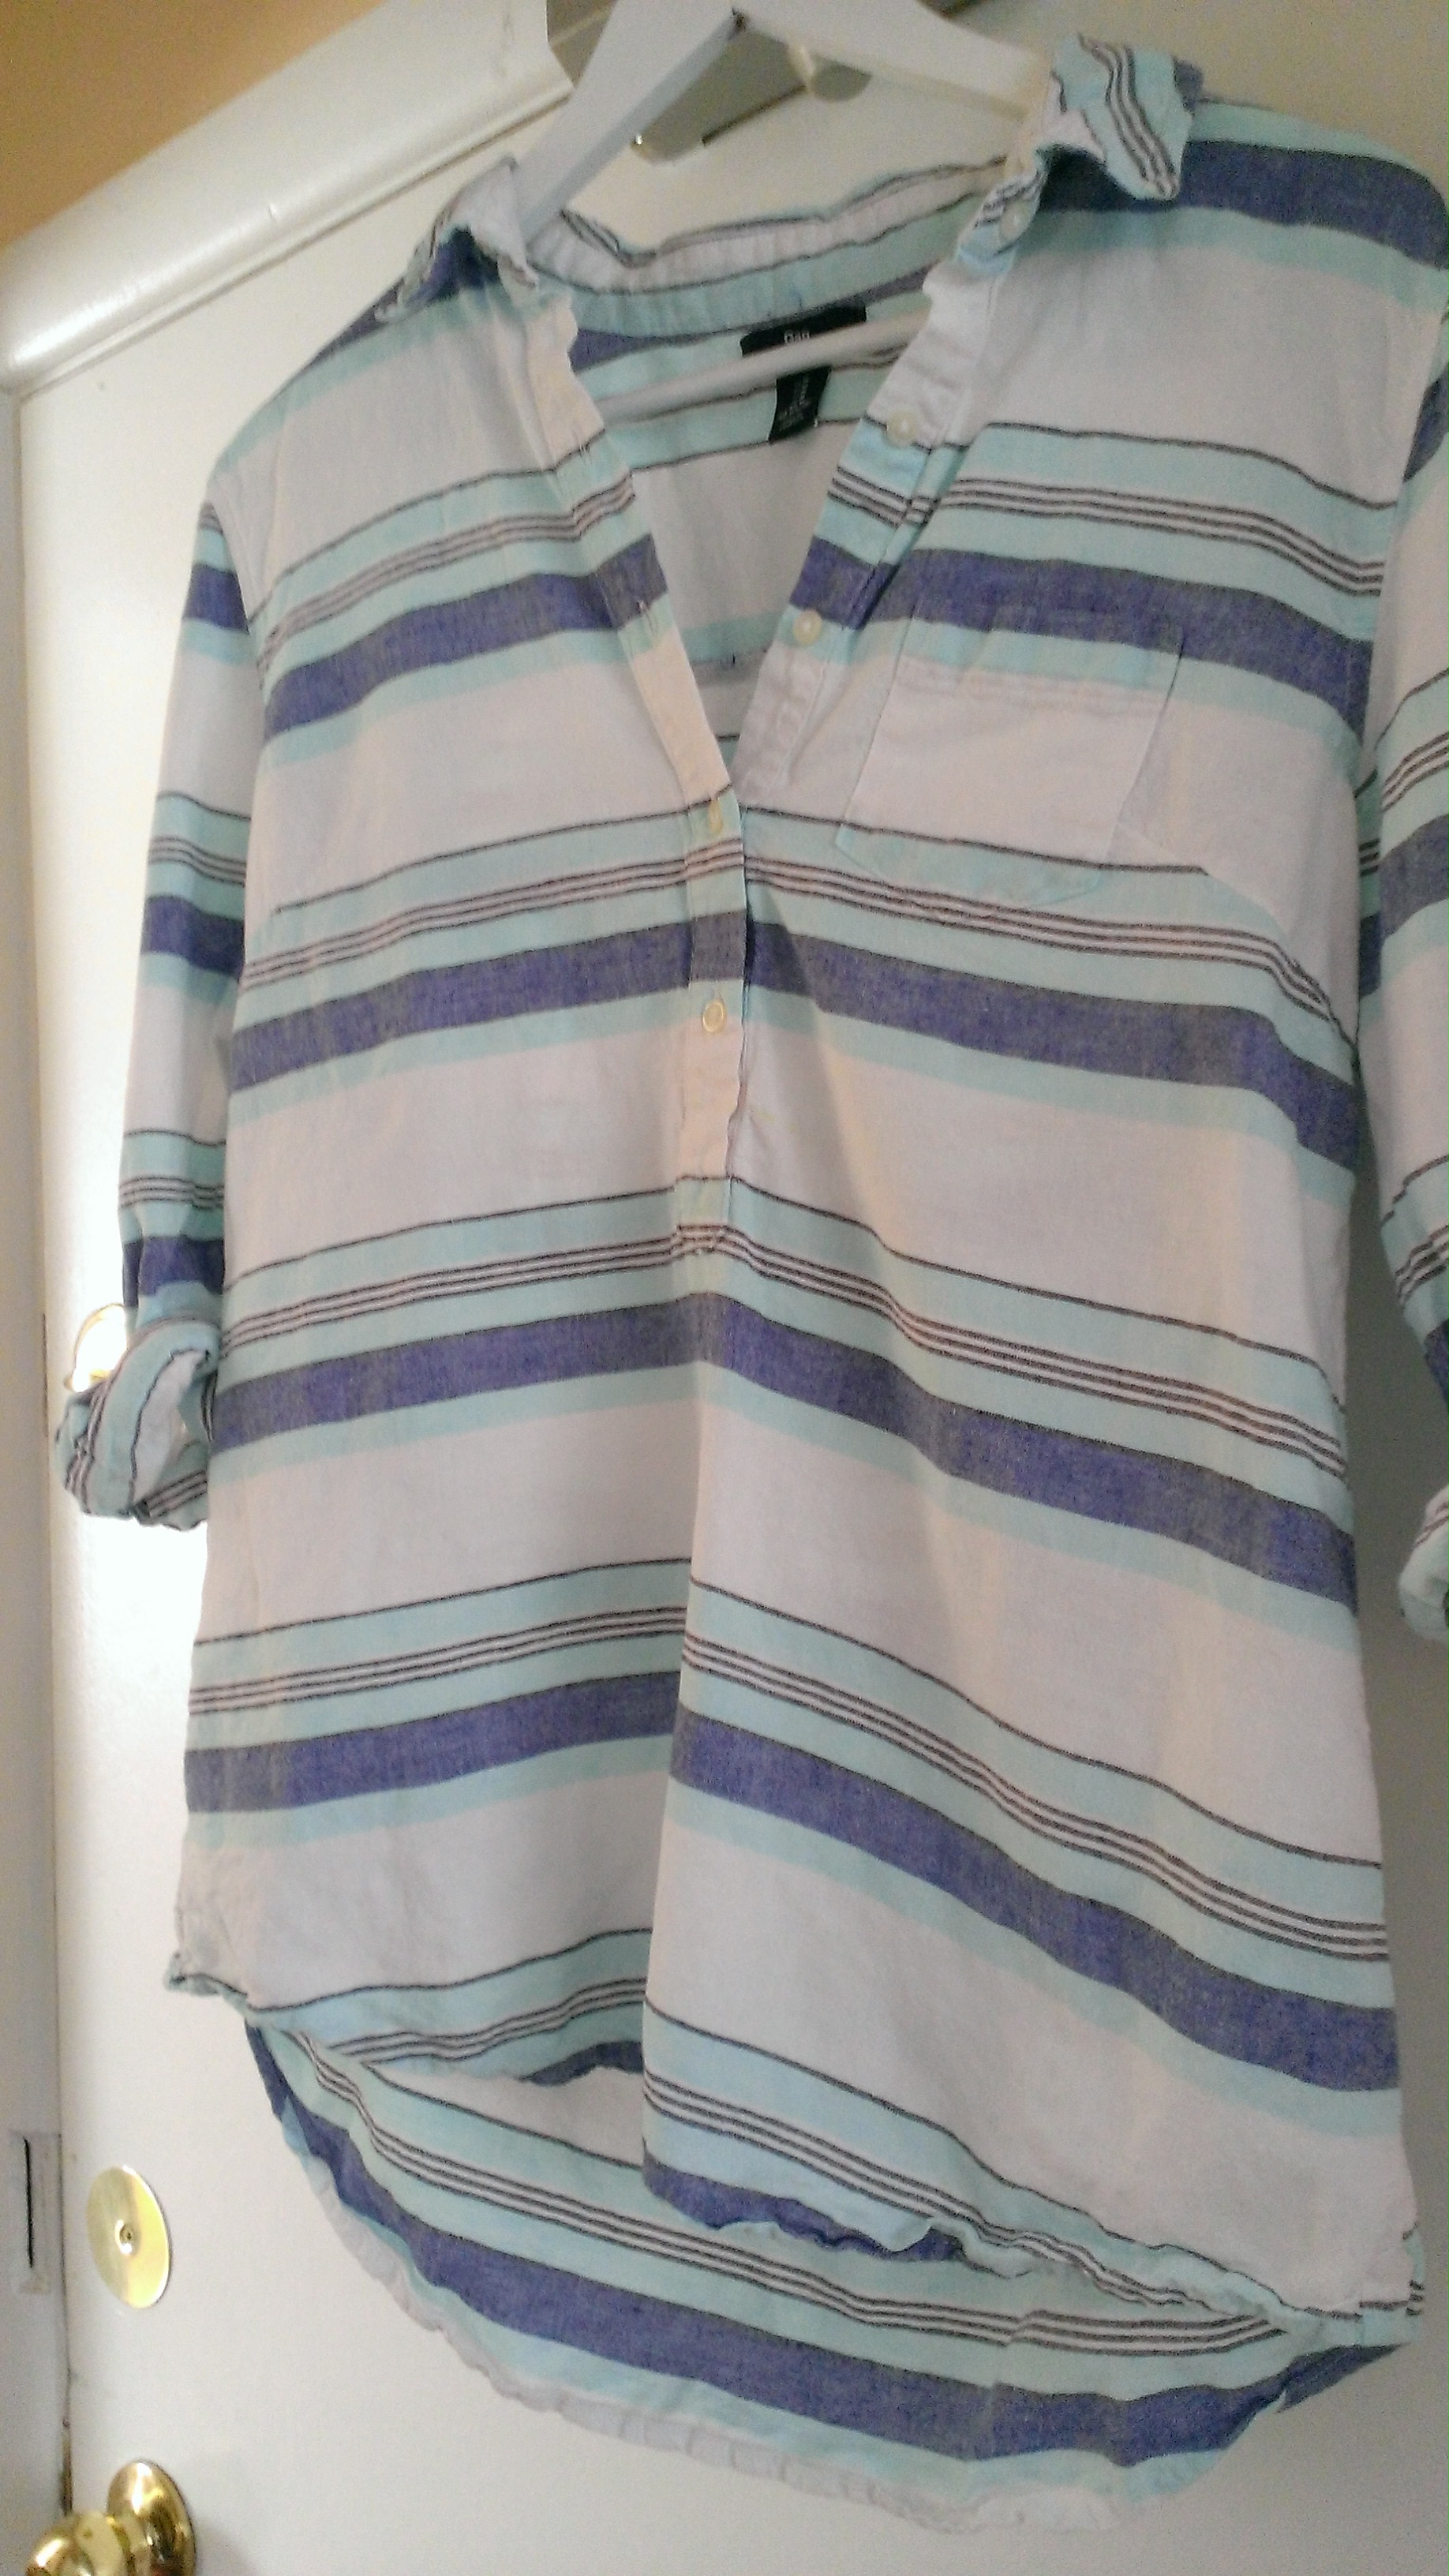
1. Find a fabric you like ( I got mine on a ‘last chance’ sale at Ikea!), and get enough to cover your doors (or walls, or whatever else you want to cover). Cut it to size, by carefully measuring it! Use a sharp fabric knife/craft knife to get a nice even cut, but don’t worry about hemming the edges, because they’ll get ‘glued down’ with the cornstarch paste.
2. Mix up your cornstarch paste (“goop”): take 3/8 of a cup of cornstarch, and mix in a little bit of water so you have a thick paste, that is not lumpy. Boil 4 cups of water in a pot, and then add the thick cornstarch paste – if you don’t pre-mix the cornstarch, you end up with a lot of little cornstarch lumps in your mix that don’t dissolve, so don’t skip that step.
3. Paint the doors! Use a nice big painters brush (pick one up at the collar store for cheap), and thickly lay on the cornstarch paste. It’s pretty thick, so it doesn’t drip very much, but do lay down some newspapers to catch the odd drip.
4. Put up the fabric! Start at an upper corner (if you’re short, like I am, make use of a tall roommate or family member), and slowly press the fabric into the paste as you move down from the top. If you get an air bubble, just lift up the fabric and re-position it; it takes a little while for the paste to dry, so you have some time to re-work any errors while putting up the fabric.
5. That’s it! Let it dry, try not to move it while it’s drying – it should be completely dry within a few hours/overnight (depending on humidity and temperature).
When you’re ready to move out, or you’ve decided you’re bored with the fabric, the great part is that the whole thing is an easy fix – grab a large sponge of warm water and soak your fabric. This dissolves the cornstarch, and the fabric peels right off.
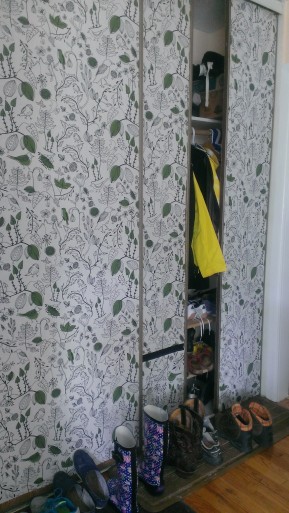
Finished doors with a black ribbon accent where the fabric wasn’t long enough; it hides where the seam is!
How durable is this? I put my fabric doors up last year, and there isn’t a single thread that’s started coming loose! And if something did work its way loose, all you have to do is mix up some new paste, and brush it over the loose edges, which will put them right back in their place.
If you give it a try, let me know how well it works for you!
45.421530
-75.697193